My seven year old informed me last year that he wanted a Star Wars birthday party. I'm not especially knowledgeable in all things Star Wars so I headed to my favorite source of inspiration--Pinterest--to search for party and game ideas. Now, Pinterest very rarely lets me down and this was one of the few times it did. No matter how much I searched or how many blog posts I clicked through and read I just wasn't finding any ideas that wow-ed me. As I became more desperate I finally went to my husband for help and, as he often does, he surprised me with a bunch of really creative and fun ideas that I loved. As the pieces of this party started to come together I was getting really excited about it. Me. Getting excited about a Star Wars birthday party. That says a lot. The party turned out to be a blast and I think everyone had a lot of fun, especially the birthday boy.

I didn't take a ton of pictures but I wanted to share some of the fun we had to possibly help anyone who may be looking for their own inspiration for a similar type party.
I love to create digital party invitations for my kids birthdays and I love to send them through
Paperless Post. They have a lot of fun options other evite sites don't have, which is why I find their site fun to use. I won't share the invitation I made here since it has too much personal information on it but Pinterest and Etsy are full of creative Star Wars invite ideas.
My seven year old helped me create this chalk board art and added his own special touch with the lightsaber drawing. The Jedi robe is a favorite dress up that his grandma made him a few years ago.
Blowing Up the Death Star
As the party began and friends trickled in everyone kept busy making paper air planes and aiming them for the Death Star in an attempt to blow it up. The kids had a blast and could have done this all day. It was hard to pull them away and move on to the next thing. This Death Star is a beach ball that my son got for his birthday a few years ago. I found it on
Amazon for around $5.
Obstacle Course in the Swamp with Yoda
We then headed down to the basement where we trained with Yoda in the swamp. We showed a little clip from the movie on our projector where Obi-Wan Kanobi talks about what a Jedi is and what the force is (because I figured some kids might not know), and then had the kids take
this little Yoda through an obstacle course that was set up in the basement.
Using the Force
After that, all the friends got to practice using the force by moving some meteorites. I had two big balls of foil sitting on a long toy shelf. There was some fishing line attached and looped through a beam overhead. My 10 and 12 year olds hid behind the shelf and pulled the fishing line to have the "meteorite" rise as each party go-er used the force. The kids were really surprised at first to see the meteorites move. It was fun to see the reaction on their faces. It didn't take them long to figure out what was actually happening but they still had a lot of fun.
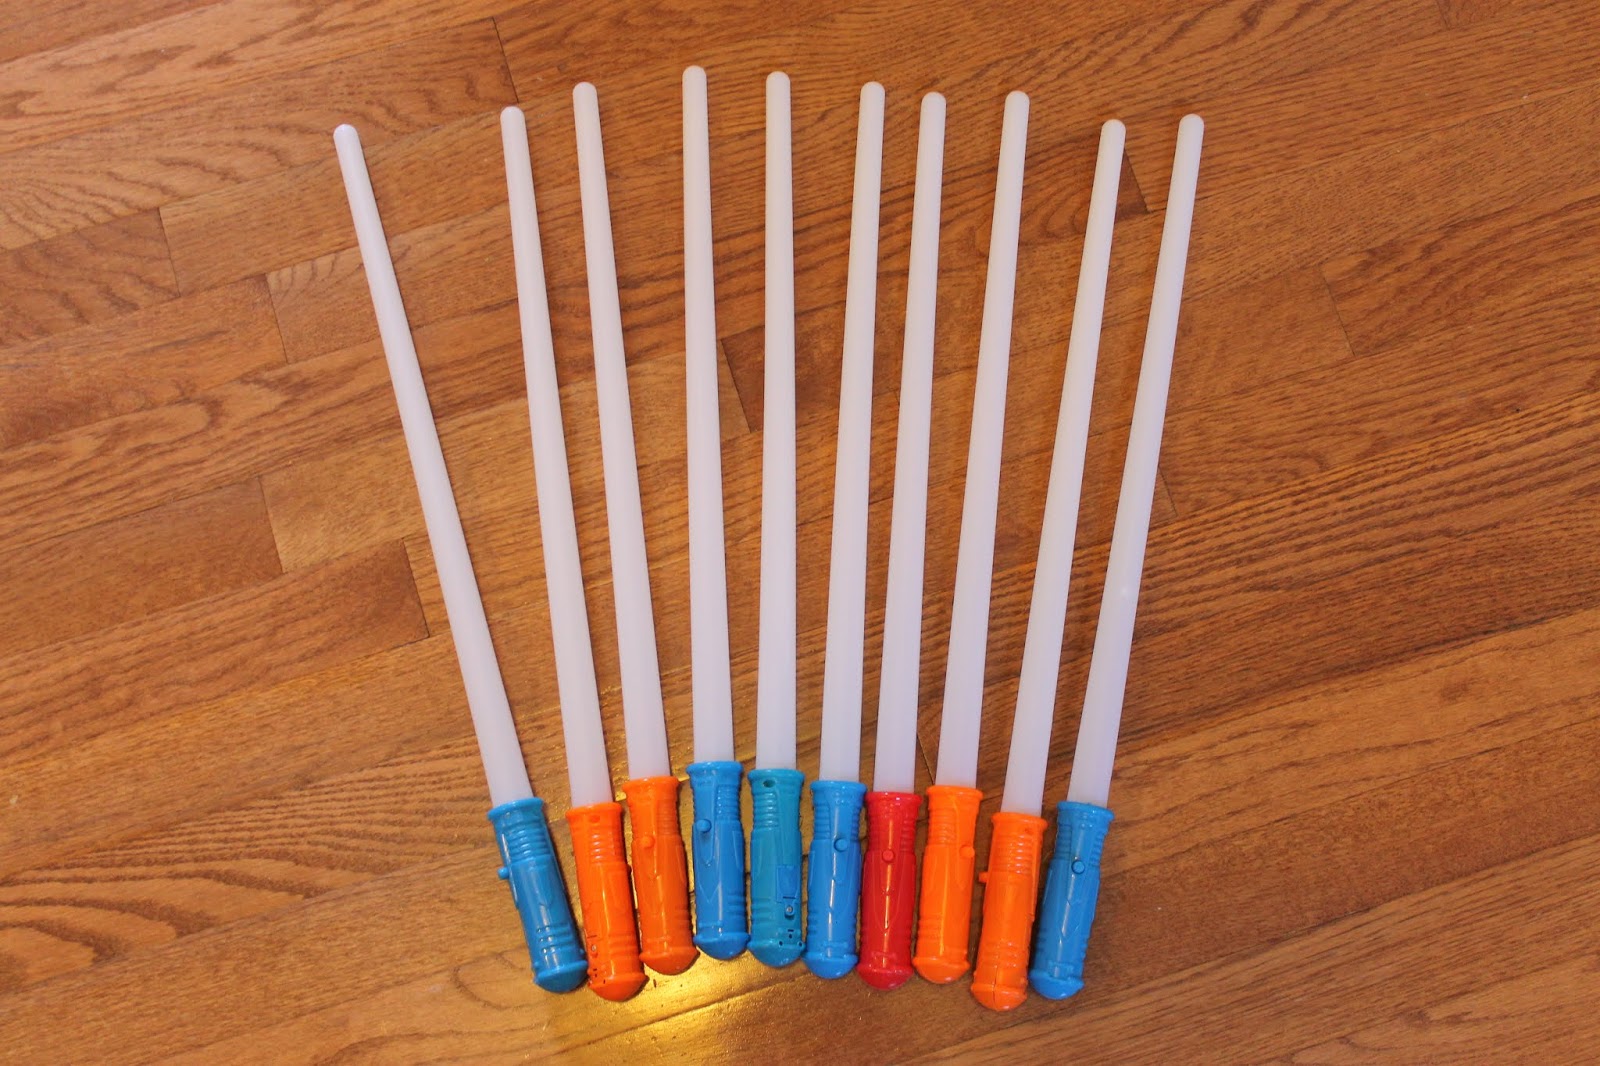
Lightsaber Training
Then it was time for lightsaber training. I lucked out finding some lightsabers at the dollar store for the kids to use. They worked perfectly for our party and when the party was over the kids got to take one home as a party favor. My husband is the best and agreed to lead the kids in this activity and taught them some moves like they do at the Jedi Training Academy at Disneyland. If you search YouTube you can find a bunch of videos of it to help you understand what I'm talking about. It was fun to see the kids take it so seriously and really enjoy it.
And then . . . (cue the music) Darth Vader walked around the corner and down the stairs! My bestest ever 12 year old wore her little brothers jacket and a Darth Vader mask that I found at Target's dollar spot. Each newly trained Jedi then got to battle Darth Vader (background music included).
"The force is weak with you. Join the dark side and together we can rule the galaxy!"
Lightsaber Balloon Game
Of course we defeated Darth Vader and celebrated with a bunch of balloons. We used the balloons to play a game using the lightsabers to try and keep the balloons from touching the ground.
We then headed upstairs and continued our celebration of defeating Darth Vader by eating Wookie cookies and opening presents.
These cute little Wookies were fun to make. I used a gingerbread man cookie cutter and added the marks with a fork before baking. Once the cookies cooled I piped on the details using melted chocolate chips and white chocolate chips. I thought they turned out to be a fun treat. The birthday boy sure liked them!
Lightsaber Limbo and Hot Potato Yoda
After treats we still had some time left so we played a few more games that the birthday boy came up with. First we played lightsaber limbo by limbo-ing under a lightsaber. Then we played hot potato with our
cute little plush Yoda. I thought they were such creative ideas and a lot of fun!